Invoicing
If you are new to creating invoices in QuickBooks Online, read this tutorial to avoid the most common pitfalls.
To create an invoice, start by clicking + New on the top of the left-hand navigation bar. Then the first item in the Customer column.
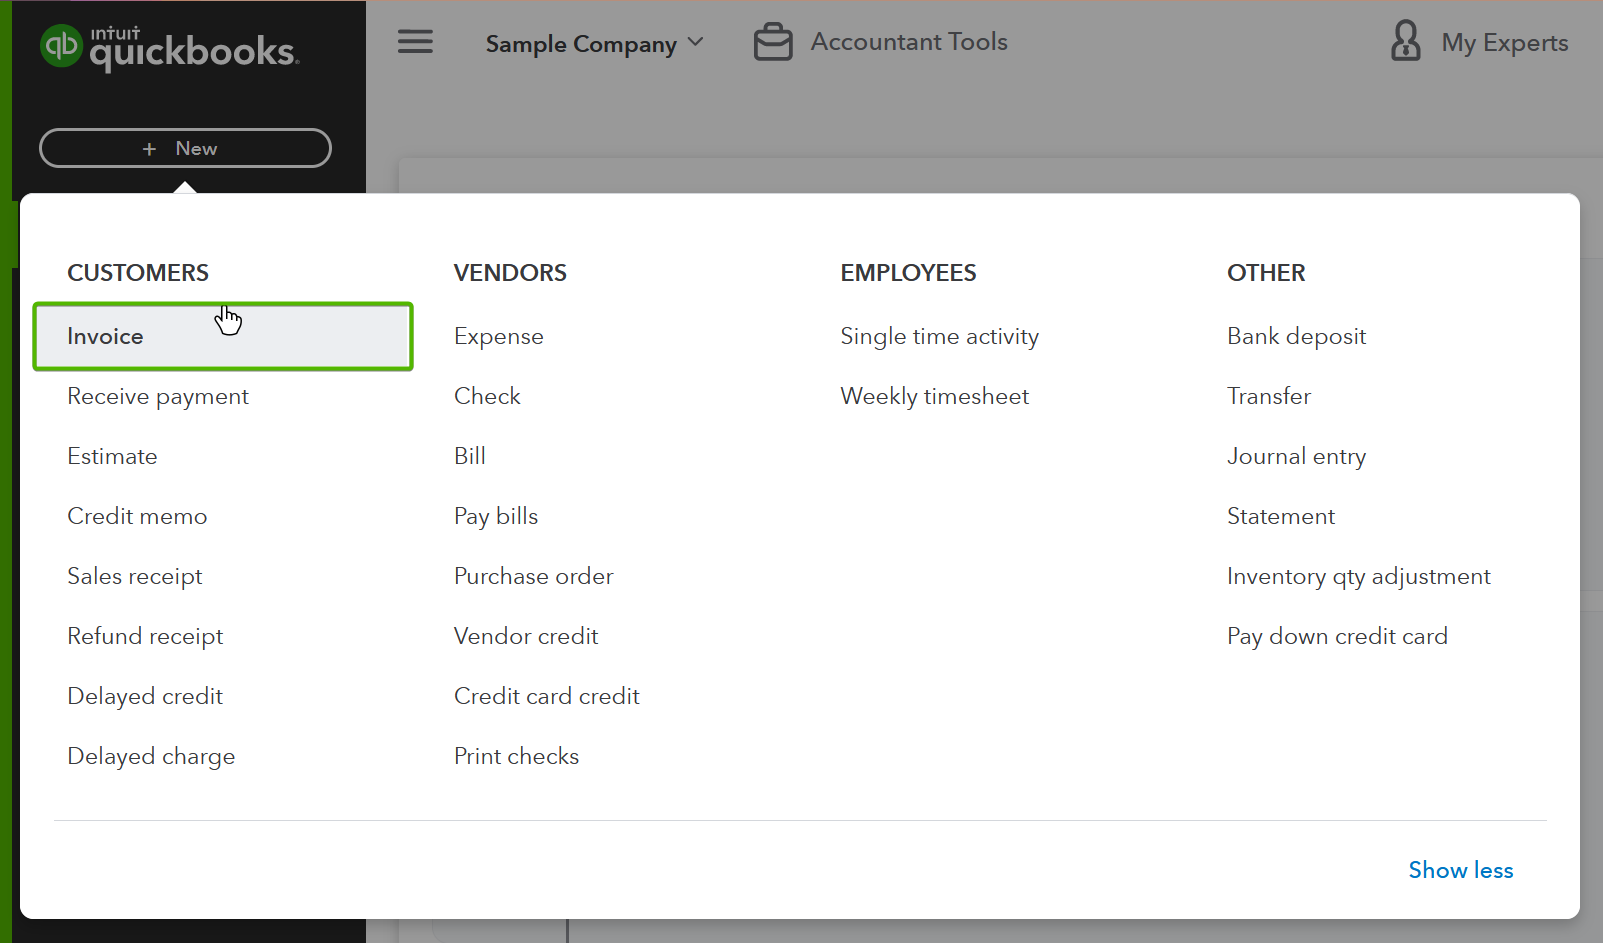
Top Section
Here are all the fields in the top section of an invoice with a short desription for each.
| Field | Description |
|---|---|
| Customer | The customer for whom you are creating the invoice. |
| Customer email | The email address QuickBooks will send the invoice if you decide to send it via email. Usually filled in automatically if you have put it in the customer’s profile. |
| Billing address | The customer’s billing address. Usually filled in automatically if you have set it in the customer’s profile. |
| Terms | The payment terms for the invoice, which you can also regard as how long the customer has to pay you for the invoice. |
| Invoice date | The date you created the invoice. |
| Due date | The date the invoice is due. Typically filled in automatically if you chose the terms and the invoice date. |
| Invoice no. | The number you can use to reference the invoice. Automatically one higher than the previous invoice you created. |
Products/Services Section
In the Product/Service column, start typing the name of the product or service for which you are charging. If your product or service already exists, click on it. Otherwise, you will need to create a Product/Service by clicking __+__ Add new followed by the name of your product or service. QuickBooks will ask whether your Product/Sevice is a non-inventory item or a service.
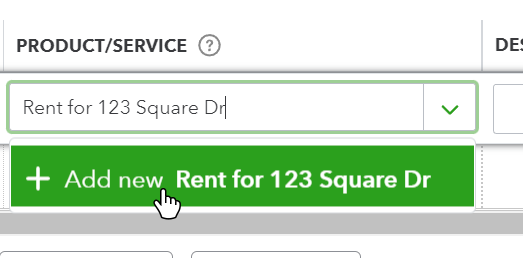
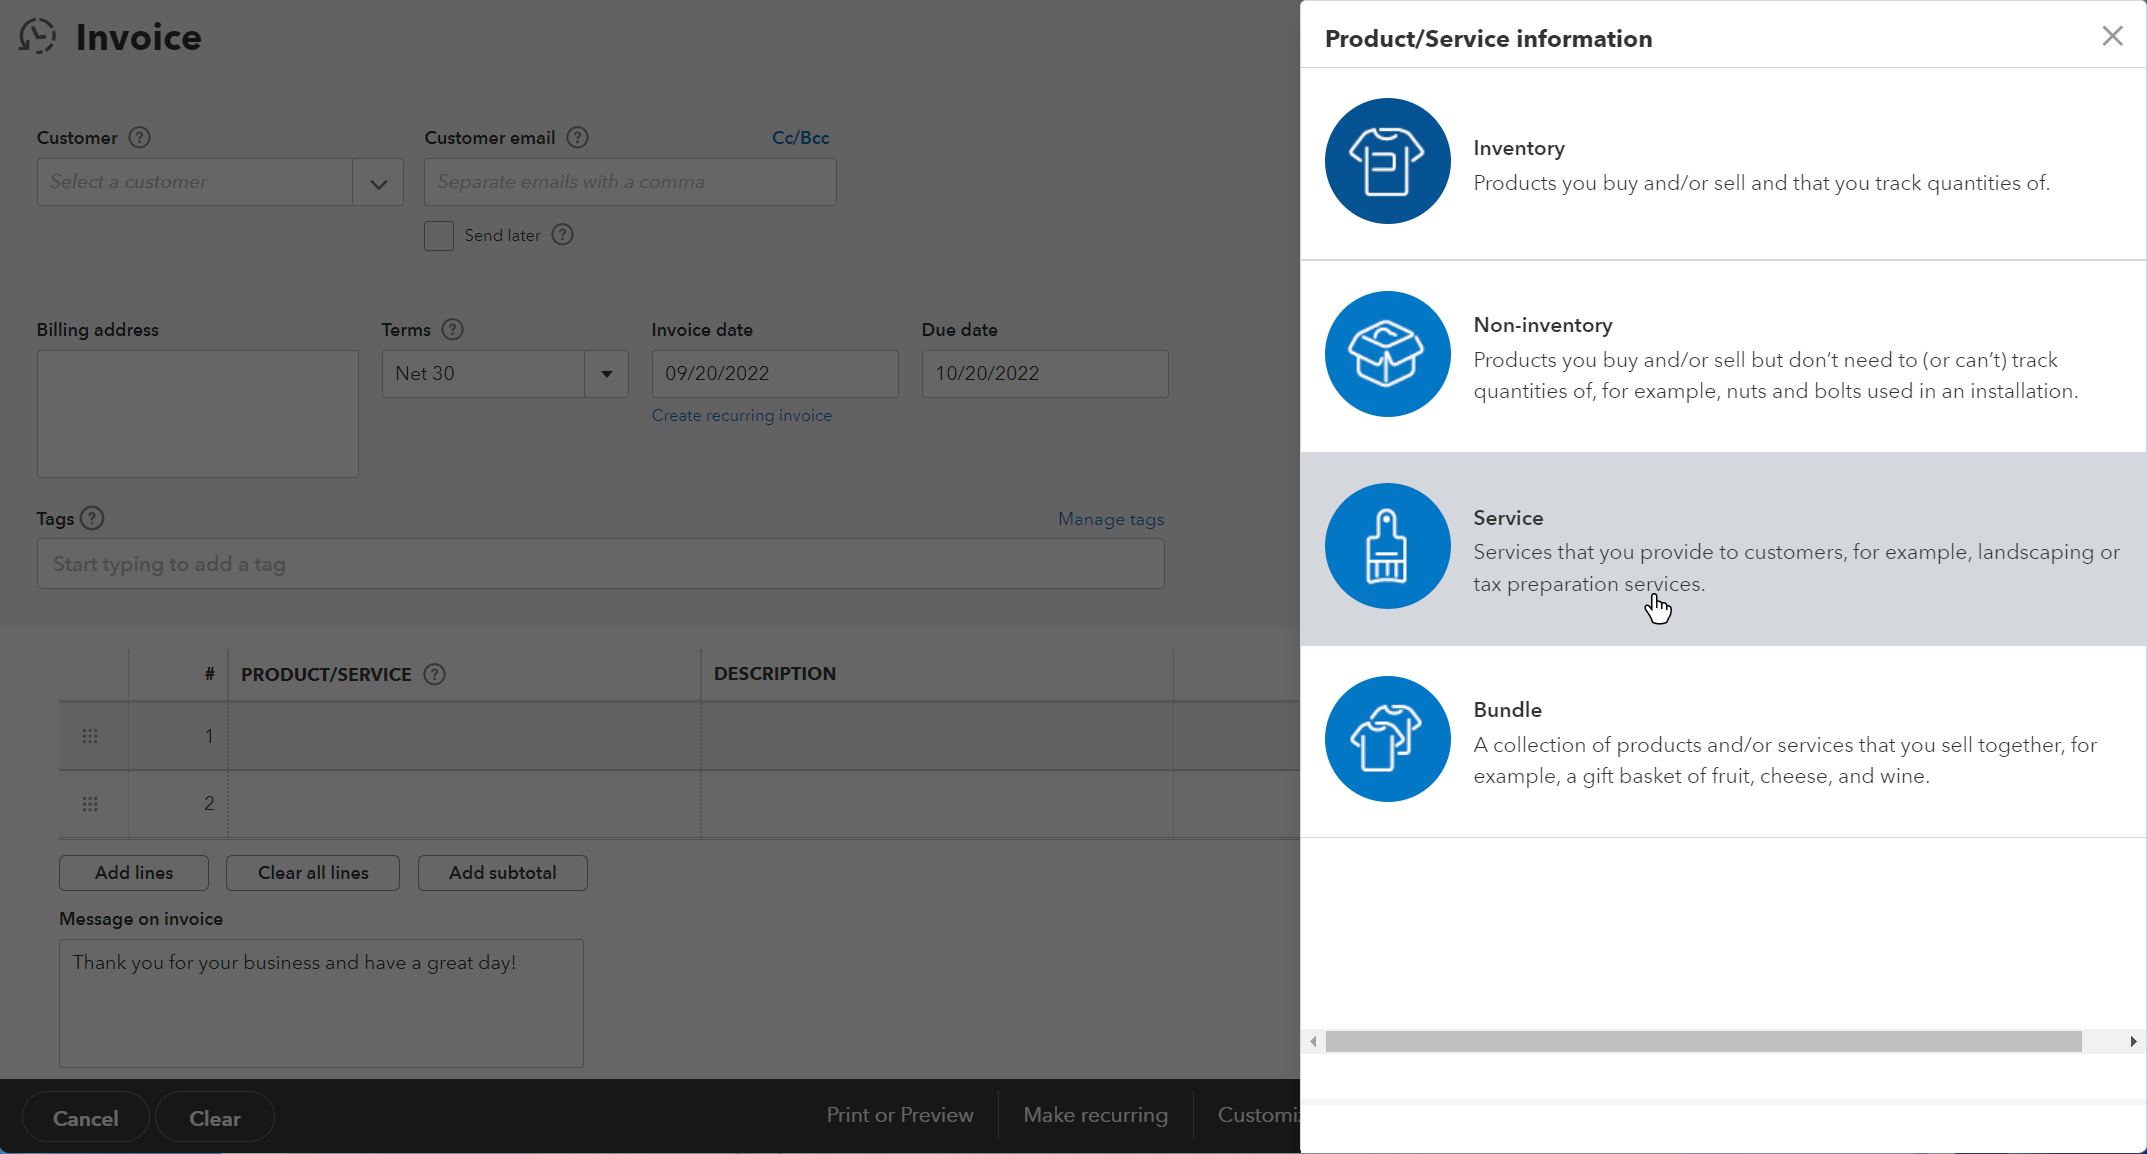
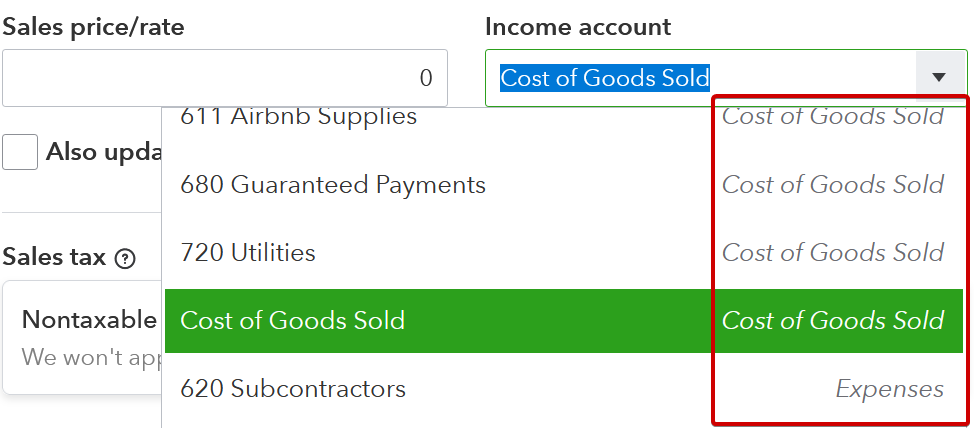
After selecting the Product/Service type, you should fill out the Name, Description, Sales price/rate, and Income account fields.
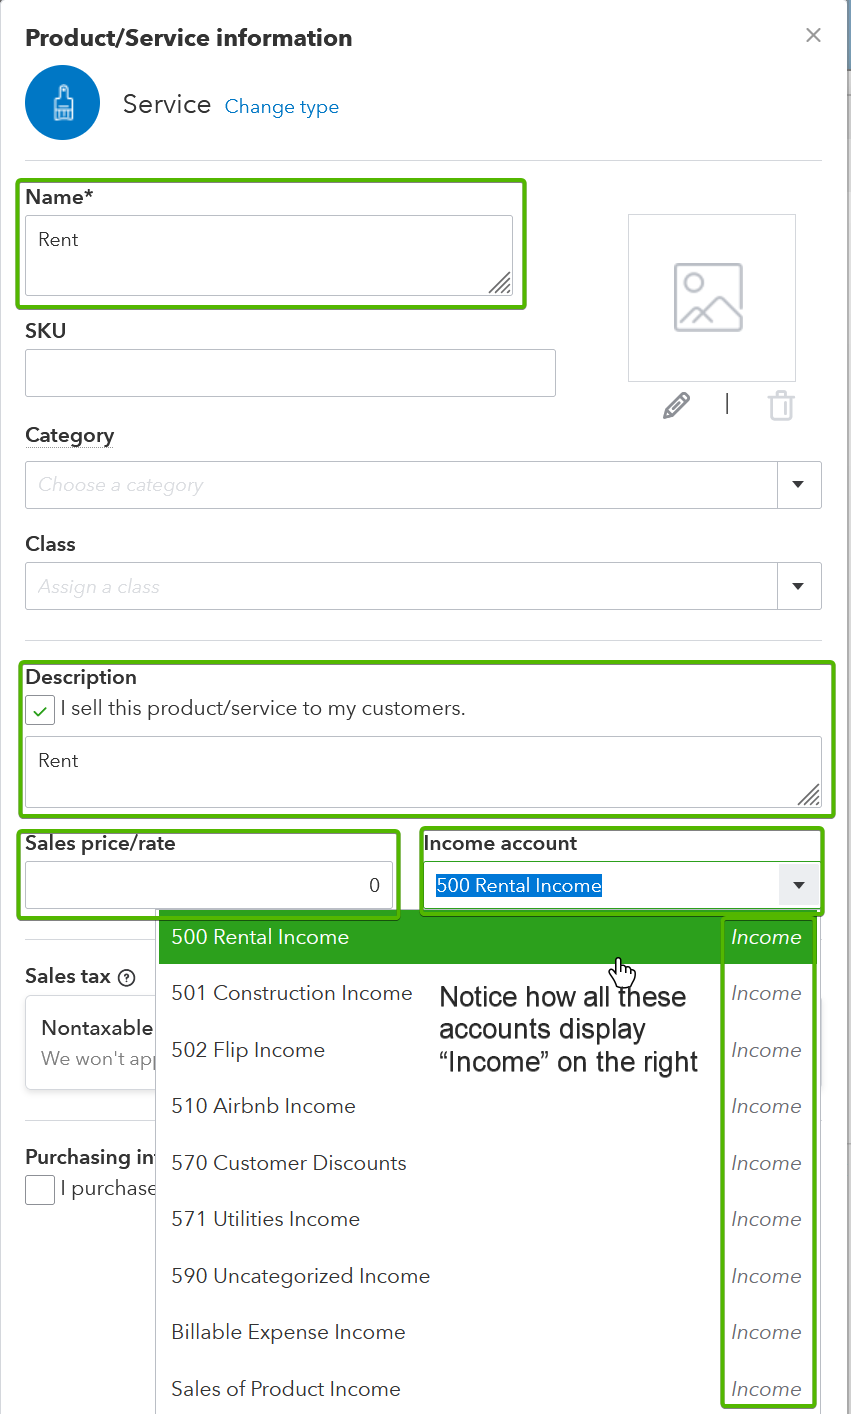
The most frequent mistake we see our clients make is putting a Cost of Goods Sold or Expense account in the Income account box. Income accounts are in the 500s, so if you enter any account that does not have a number between 500 and 599, you are using the wrong income account.
Never use a Cost of Goods Sold or Expense account as the Income account.
Once you enter your Product/service, edit the description, quantity, rate, or amount as needed.
Saving and Sending
If you want to put a message on the bottom of the invoice put it in the Message on invoice box.
Once you are happy with the invoice you created click Save on the bottom left. To email the invoice to your customer click the green Save and send button on the bottom right. After clicking Save and send use the popup to confirm the content of your email.